
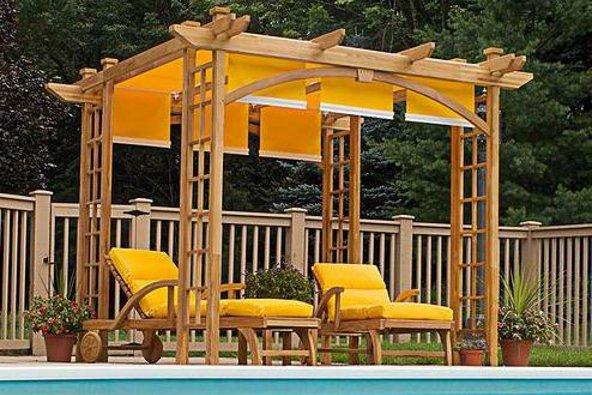
Timber pergolas offer an attractive and economical way to create functional living and entertainment areas in the outdoors. Pergolas designed with care can maximise both winter sunshine and summer shade, ensuring outdoor living is enjoyed all year round. With its natural look, durability and versatility there are few other materials that can match the advantages of timber in pergola construction.
Pergolas are typically constructed via a straightforward post and beam process, which can be attached to an existing building or form a free standing structure. A protective finishing coat will preserve the life of the pergola and a variety of paints and stains are available on the market to facilitate this.
Criteria Level: 1
Free standing pergolas must have posts permanently braced to beams and rafters. Knee braces should be fixed from both front and rear on to beams and rafters. For especially large pergolas bracing of immediate posts may also be required. For pergolas attached to a solid existing structure such as a building or deck, additional bracing is usually not required.
Criteria Level: 2
Due to prolonged weather exposure, all fasteners used on pergolas are at high risk of corrosion and staining and should therefore only be selected from non-corroding materials. In most situations hot-dipped galvanised nails, bolts (or similar) are the preferred choice.
Criteria Level: 3
It is important to pre finish the boards before commencing the installation process. For an intended stained finish, give all timber surfaces one coat of a water repellent preservative after firstly confirming the preservatives compatibility with the stain manufacturer. For a painted finish, give all surfaces one coat of a quality oil base wood primer, followed by the first coat of the selected paint. Also ensure that all cut ends are sealed with a stain or primer prior to installation.
Criteria Level: 1
The following provides a general overview of the installation elements for a basic pergola.
Criteria Level: 1.01
For a basic pergola, measure out the correct distance with stakes and a builders string line. Join the diagonally opposite corners with string line and confirm the string is equal in length to ensure a square structure. Mark the position of the post holes and re check that all proportions are correct before commencing construction.
Criteria Level: 1.02
If posts are to be positioned on galvanised post supports, dig holes 350mm square and 600mm deep and pour in mixed concrete. Set the post supports into the centre of the unset concrete. With a stringline ensure height and position are correct and then allow to set for three days. To allow water run off finish the top with a slight dome shape. Where there is existing concrete, post supports can be bolted onto concrete with masonry expansion bolts. Once concrete is set, position, drill and fix posts to post supports with coach bolts. Until the top beam is erected, brace posts with some timber.
For freestanding pergolas, in ground posts are recommended. Holes should be dug 350mm and 900mm deep, place post on a soleplate in the bottom of the hole, plumb (level upright) and flush to stringline, brace posts and pour in concrete.
Criteria Level: 1.03
The pergola can be attached to the house or other similar structure with either a ledger beam or a fascia cleat. If using a ledger beam, fasten it to the existing structure at correct beam height. Securely attach the beam to the wall with masonry expansion anchors and drill holes into the beam before attaching. Each anchor should be fixed one metre apart. When attaching to timber cladding use coach screws fixed through the entire cladding into the backing studs. If attaching the pergola to a fascia board fix the fascia cleat with coach bolts through the fascia board and onto every adjoining roof rafter, thus creating a solid structure beam for attachment of the pergola.
Criteria Level: 1.04
Cut the top of the post 12mm lower than the top of the beam. Position beams correctly on posts, drill holes and fasten with coach bolts. For free standing pergolas knee braces should be bolted to the posts and beams to provide additional bracing. Beams can be fixed direct to the face of the post or checked in, using bolts, nails and nail plate connectors as appropriate.
Criteria Level: 1.05
Attach the rafters to beams or ledgers by skew nailing with galvanised nails. If battens are to be used at close intervals they may be nailed to the rafters. When supporting sheet roofing they should be secured with a 75mm long, (4.5mm in diameter screw) at each crossing. Rafters should be spaced no more than 900mm apart.
Criteria Level: 1
To preserve the life of the pergola it is important to coat the timber with an appropriate finish. All exposed timber will undergo colour change and some surface checking and erosion. The extent of these effects can be minimised with the application of suitable water repellent solutions and/or suitable exterior quality paints and stains.
Criteria Level: 2
The required frequency of maintenance will depend on the degree of weather exposure to the pergola and the type of finish used. Specific advice should be sought from the finish supplier, remembering that the long term performance of the pergola will depend on regular and effective maintenance.
Criteria Level: 1
Specifying the type of pergola to be installed will depend on individual preferences. When considering location, style and size, compare each against the desired use of the pergola.
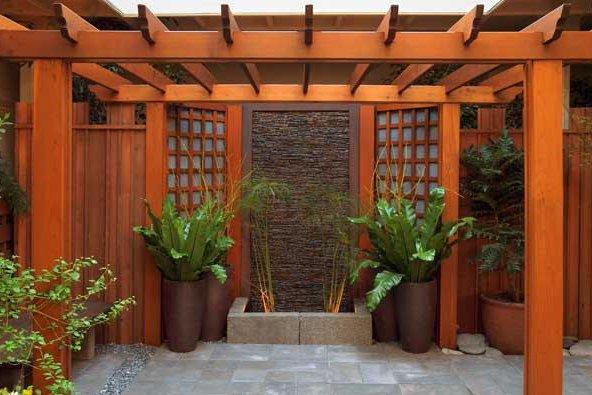
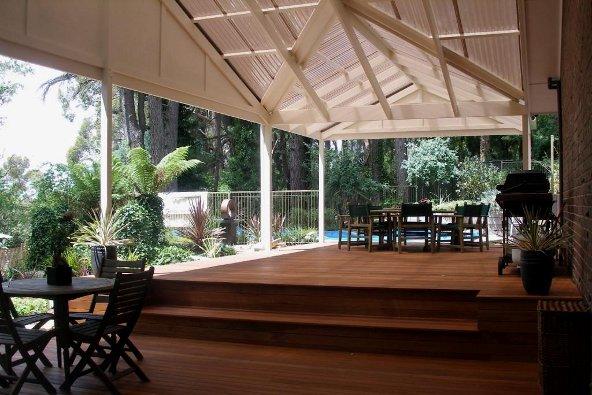
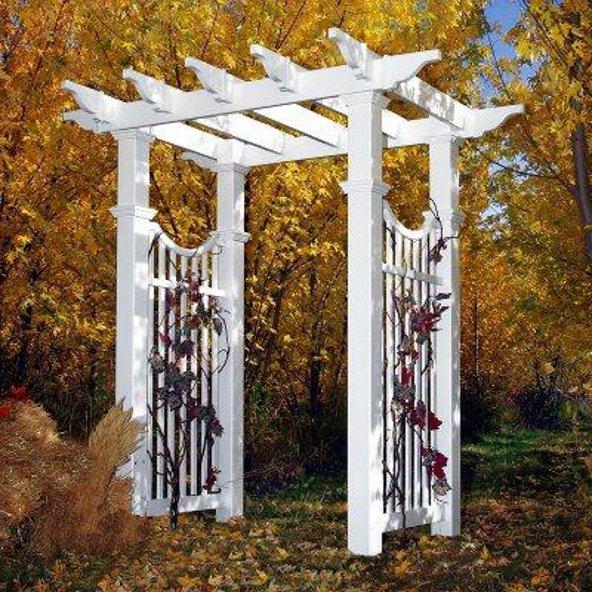
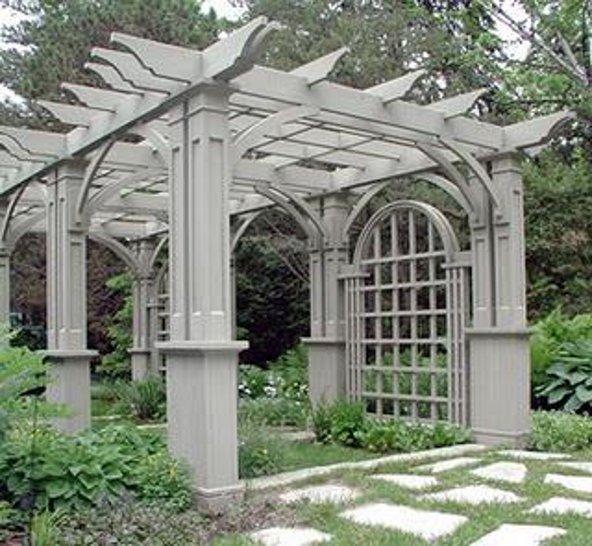
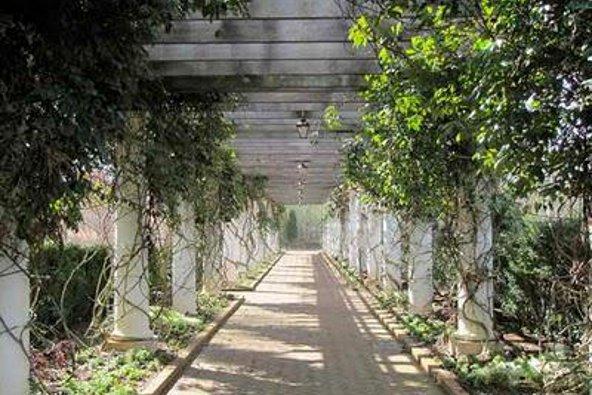
The most popular pergola style is a pergola attached to a pre-existing building, often built over a patio or recreation area. Alternatively free standing pergolas, popular for domestic applications, can turn an unused corner of the garden into an outdoor retreat for peace and quiet relaxation.
Whatever the choice, remember to confirm that the plan and design meet local council requirements, a permit may be required.
Criteria Level: 2
Being an external structure it is likely that timber components of a pergola will be exposed to weather and depending on design, be subject to the hazards of in-ground contact. To achieve the best long-term service result, species should be selected on the basis of expected durability under expected service conditions.
For in-ground use, preference should be given to sapwood free, naturally durable species such as tallowwood, turpentine, ironbarks, cypress or plantation pine preservative treated to hazard level 4 or 5.
The choice is wider for above-ground use, and recommended species include those mentioned above plus sapwood-free naturally durable species such as blackbutt, spotted gum, messmate, kwila/merbau, stringybarks and plantation pine preservative treated to a minimum hazard level 3.
In cases where the above ground timber is sheltered from the elements the choice is even greater and could even include some low natural durability timber species.
Criteria Level: 2.01
Timber size is dependent on the type and grade of timber specified. It is advisable to consult with a timber supplier about available grades and species as part of the design and planning process.